Guide 3: Create your first API
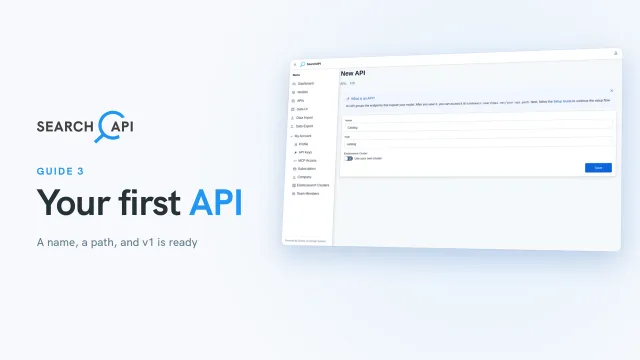
Create an API with a name and path, choose where its data is hosted, and find its first version, v1.
Chapters
Transcript
Show the transcript
Welcome back. In this guide, you'll create your first API, the home for all the endpoints you'll build.
So… picking up from the Setup Guide: click Go to Create API. This is the APIs page, also in the sidebar. It's empty for now, and the Quick Start tip shows the way: click New API.
An API groups the endpoints that expose your data, and its path becomes part of every URL: your subdomain, then the path. Let's give it a name… and a path. Paths use lowercase letters, numbers, dashes and underscores, can't be only numbers, and must start with a letter or a number.
And one last field: where your data lives. By default, your API runs on our hosted Elasticsearch, so there's nothing to set up. If you'd rather use your own cluster, switch this on and add it right here, with a username and password, or an Elastic Cloud API key. We'll stay on the hosted one.
Now, let's save. There it is, on the default host. From the list, you can edit an API, open its versions or endpoints, or delete it. Deleting an API takes its versions and endpoints offline with it, but you have thirty days to recover everything. And keep in mind: once a version is deployed, the API's name and path can't be changed.
Let's open its versions. Every new API gets a first version. This is v1. It isn't live yet. We'll come back to this page and go through it in detail when we deploy, at the end of the setup.
Alright, step two is done. Next up, we'll build the models that hold your data.
Related documentation
Read the details behind this guide on the documentation page.