Guide 6: Create your first endpoint
Give the product model a URL, choose its methods, and see the endpoints created for related models.
Chapters
Transcript
Show the transcript
Welcome back. In this guide, you'll create your first endpoint and give your products an address.
Your models are ready, but nobody can reach them yet. That's what an endpoint is for: it gives a model a URL, and a way in. Open the Setup Guide, and go to step four, Create Endpoint. This is the endpoint list for version one of the Catalog API. It's empty for now. Click Add New Endpoint.
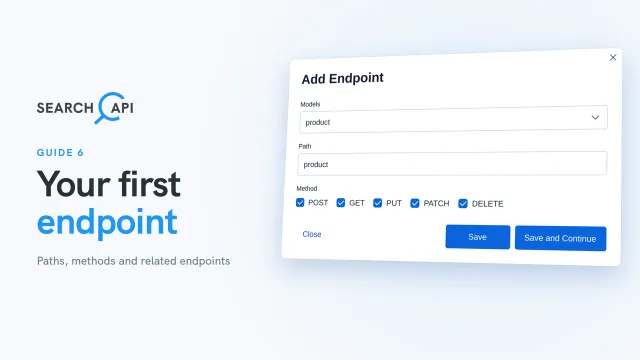
First, pick the model this endpoint exposes: product. Then the path: product. It follows the same rules as the API path: lowercase letters, numbers, dashes and underscores. Now the methods. Each one you tick becomes its own endpoint. POST creates, GET reads, PUT replaces a record, PATCH changes part of it, and DELETE removes it. GET actually gives you two: the product list, and a single product by its id. Let's tick all five. Save and Continue would keep this window open for another endpoint. We only need this one, so Save.
See the blue box? Product points to brand, category and tag, and they had no endpoints in this version yet. So SearchAPI created them for you, with GET, POST, PUT and DELETE. It also reminds you to assign an API key before deploying. These open locks mean no key yet, and the key icon is where you'll set one, in a later guide. Up top is the base URL: your subdomain, the API path, and the version. Add an endpoint path, and you get the full address: trailstore dot searchapi dot net, slash catalog, slash v1, slash product. Once you have more versions, this selector switches between their endpoints.
Alright, your products have an address now, and step four of the Setup Guide is done. In the next guide, we'll edit this endpoint, and see what it changed for your models.
Related documentation
Read the details behind this guide on the documentation page.